[目录]
参考
本文参考了 Ken 的博客。结合自己的实际操作过程写成。
重要说明
本文中的编码是在 Spring Boot-1.构建第一个 Web 应用程序 这个例子上进行操作的
开发环境
| 名称 | 版本 |
|---|---|
| 操作系统 | Windows 10 X64 |
| JDK | JDK1.8(jdk-8u151-windows-x64) |
| IntelliJ IDEA | IntelliJ IDEA 2018.3 |
| Maven | Maven 3.6.0 |
| Spring Boot | 1.5.6 |
什么是 Spring Boot
Spring Boot 默认配置了很多框架的使用方式,整合了所有的框架
1.引入Thymeleaf
在 pom.xml 文件的 dependencies 引入
<dependencies><dependency><groupId>org.springframework.boot</groupId><artifactId>spring-boot-starter-web</artifactId></dependency><dependency><groupId>org.springframework.boot</groupId><artifactId>spring-boot-starter-thymeleaf</artifactId></dependency></dependencies>
2.创建Thymeleaf模板
创建模板文件夹
在 resources 文件夹下新建 templates 文件夹,作为模板根目录
完整路径:src/main/resources/templates
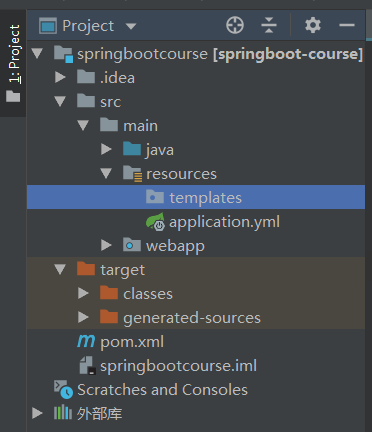
templates 这个名词是 Spring Boot约定的,如果有需要,可以通过配置 application.yml 修改
spring:thymeleaf:template-loader-path: classpath:/templates/
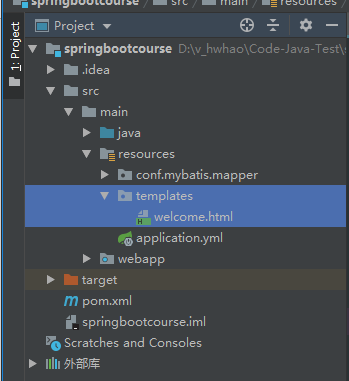
创建模板文件
在 templates 新建 welcome.html 文件
.ftl 就是 Thymeleaf 模板文件后缀,可以通过配置 application.yml 修改
<!DOCTYPE html><html><head><title>欢迎页面</title></head><body><h3 th:text="${message}"></h3></body></html>
使用 ${变量名} 可以输出 controller 中返回的对象
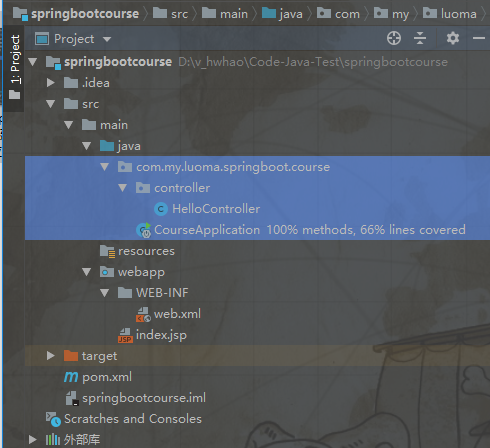
3.创建 Welcome 访问入口
在 HelloController 增加方法 welcome
package com.my.luoma.springboot.course.controller;import org.springframework.stereotype.Controller;import org.springframework.web.bind.annotation.RequestMapping;import org.springframework.web.bind.annotation.ResponseBody;import org.springframework.web.servlet.ModelAndView;@Controllerpublic class HelloController {@RequestMapping("/")@ResponseBodyString index() {return "Hello World!";}@RequestMapping("/welcome")ModelAndView welcome(){ModelAndView model = new ModelAndView();model.setViewName("welcome");model.addObject("message","欢迎来到王者农药!");return model;}}
对比 index 函数,主要发生了以下几个变化:
1.去掉 @ResponseBody 注解,如果使用该注解,返回结果会直接输出,而不是使用模板引擎渲染
2.使用 ModelAndView 对象,指定视图名&添加视图对象
对于 setViewName 函数,如果视图的路径是templates/home/index.html
那么使用方式应该是:
model.setViewName("home/index");
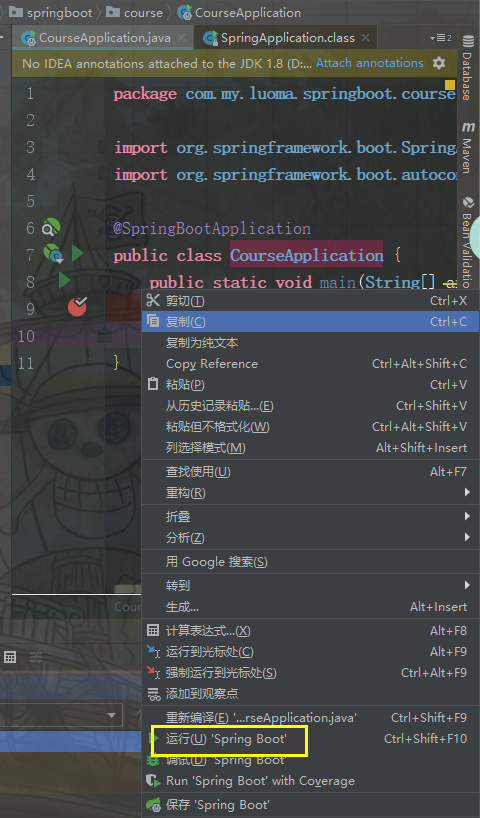
4.启动和访问
启动项目
使用快捷键 Shift+F10 启动即可
或者在 CourseApplication 编辑区,右键-运行-Spring Boot
访问项目
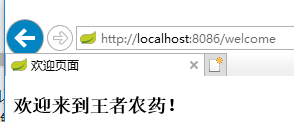
浏览器访问:http://localhost:8086/welcome
浏览器显示结果:
源码下载
见附件
